Note: This tutorial is intended for students of VITE Code Camp. It covers installation of C++ modules only. However, it can be of help for anyone in general who is interested in Visual Studio 2019 Community Edition.
Download Visual Studio 2019 Community Edition from this link and follow the visual guide step-by-step as given below.
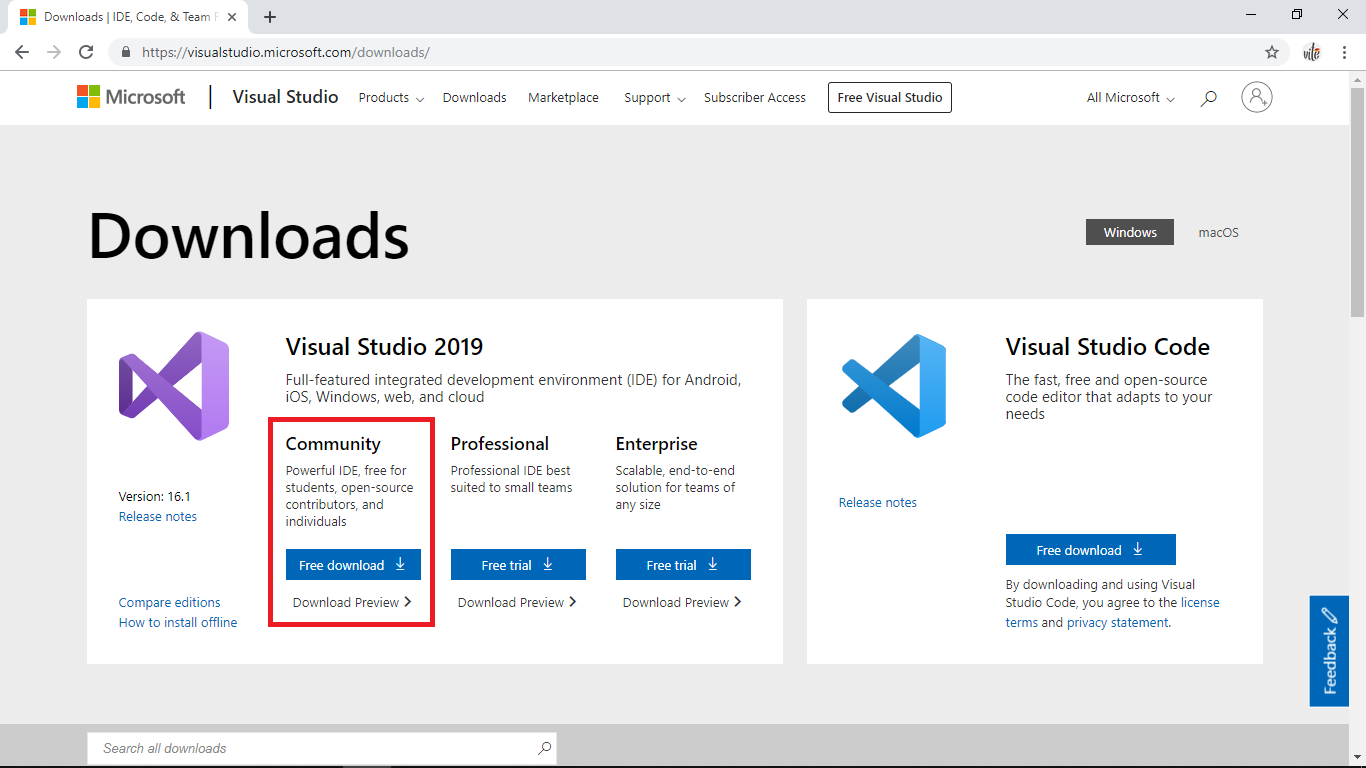
Download Visual Studio 2019 Community Edition

Open the Downloaded File
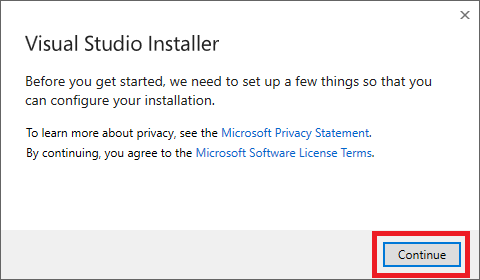
Click “Continue” Button
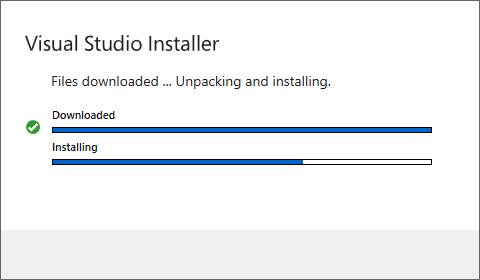
Wait for completion of download and installation of Visual Studio Installer
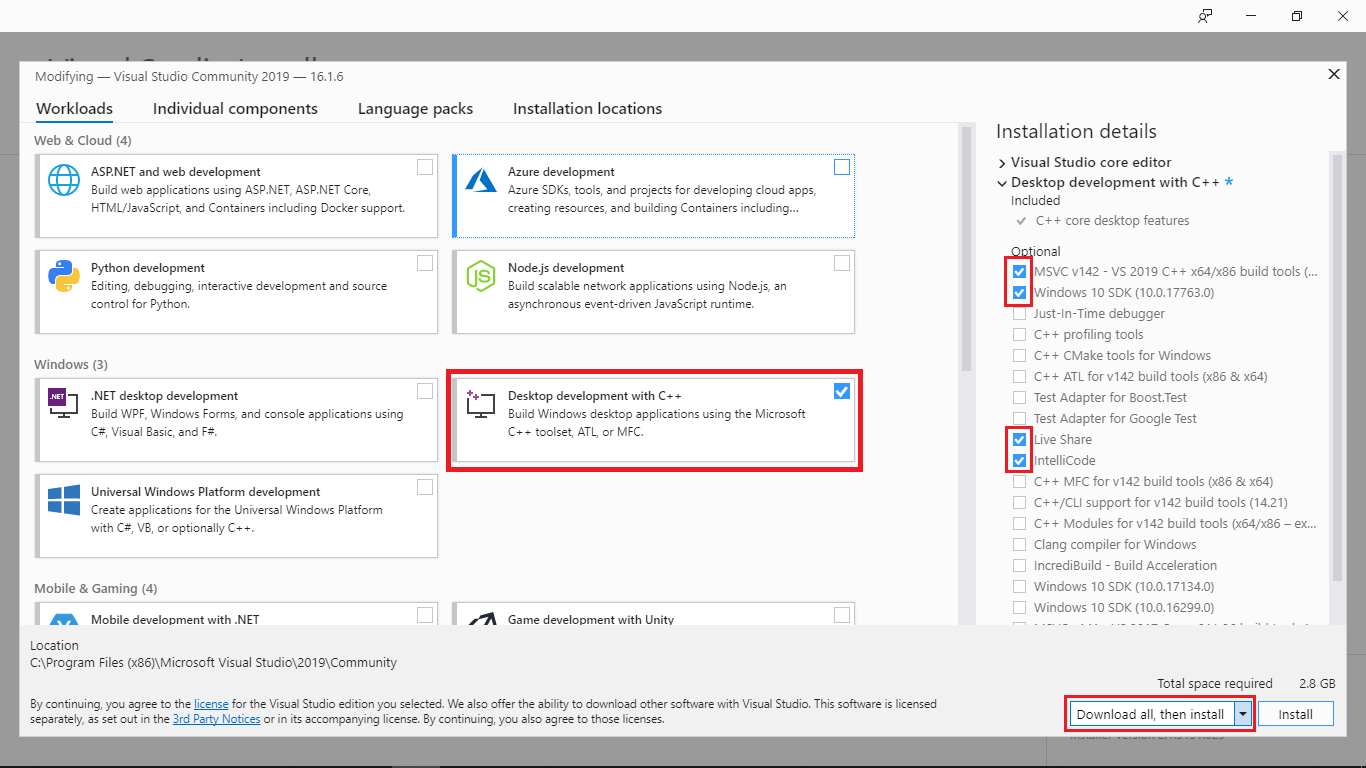
Select all options highlighted in red and uncheck all other checkboxes. Now press “Install” button.
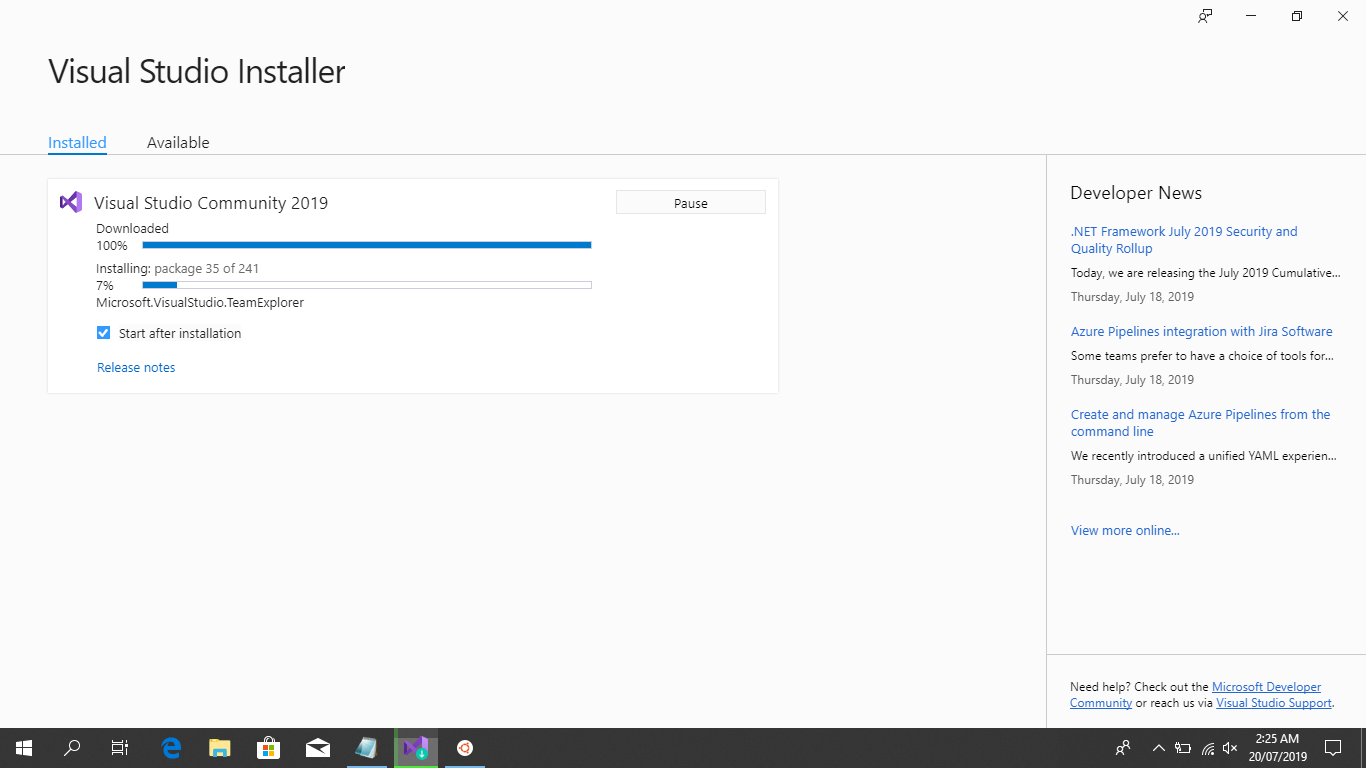
Wait for completion of download & installation of Visual Studio 2019 Community Edition
Congratulations!
You have successfully installed Visual Studio 2019 Community Edition
See the section below to learn how to create your first C++ project in Visual Studio
Create First C++ Project
Follow the following instructions to create your first C++ Project:
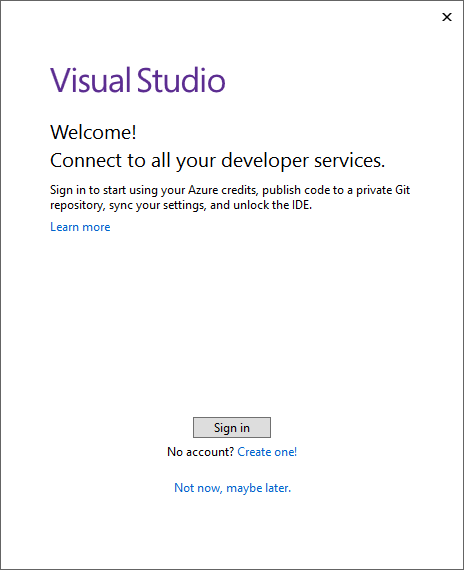
Sign in with your Microsoft account or click “Not now, maybe later” to skip this step.
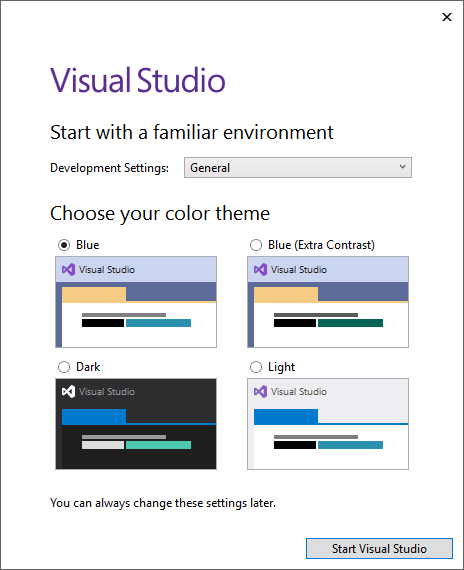
Select your favorite color scheme or click “Start Visual Studio” to use default settings.
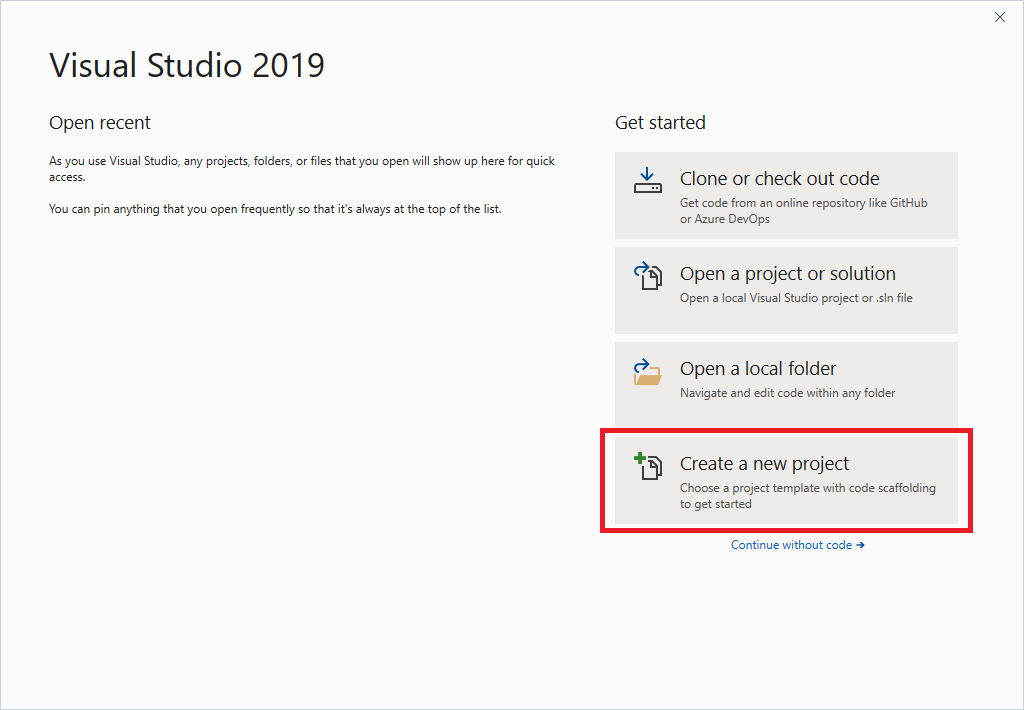
Click “Create a new project”
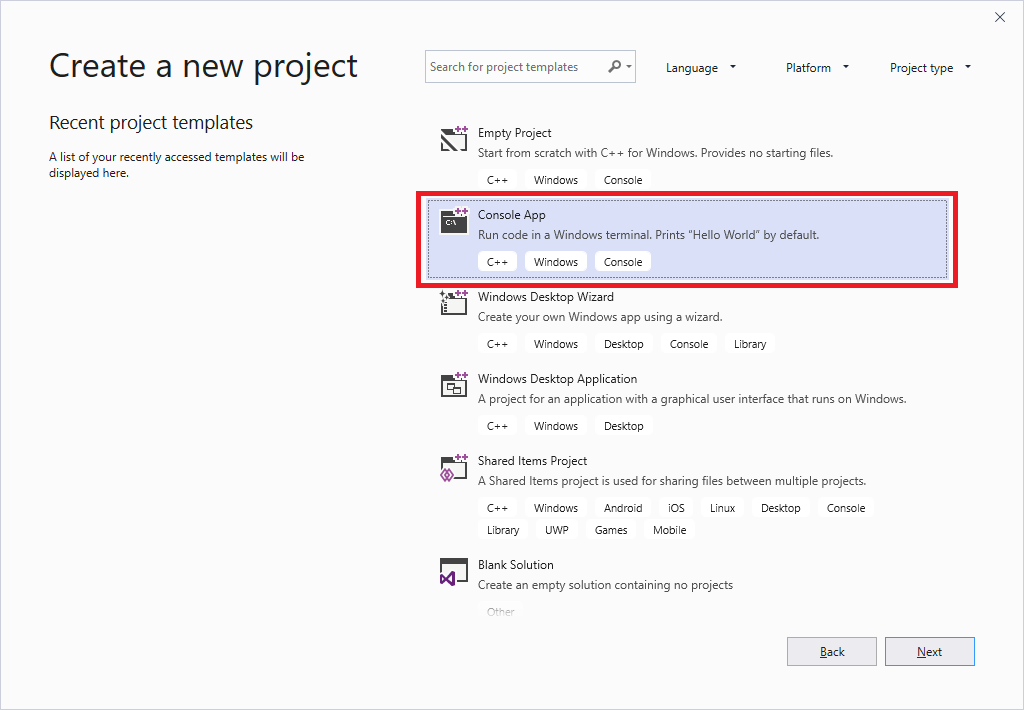
Click “Console App” as shown in the screenshot
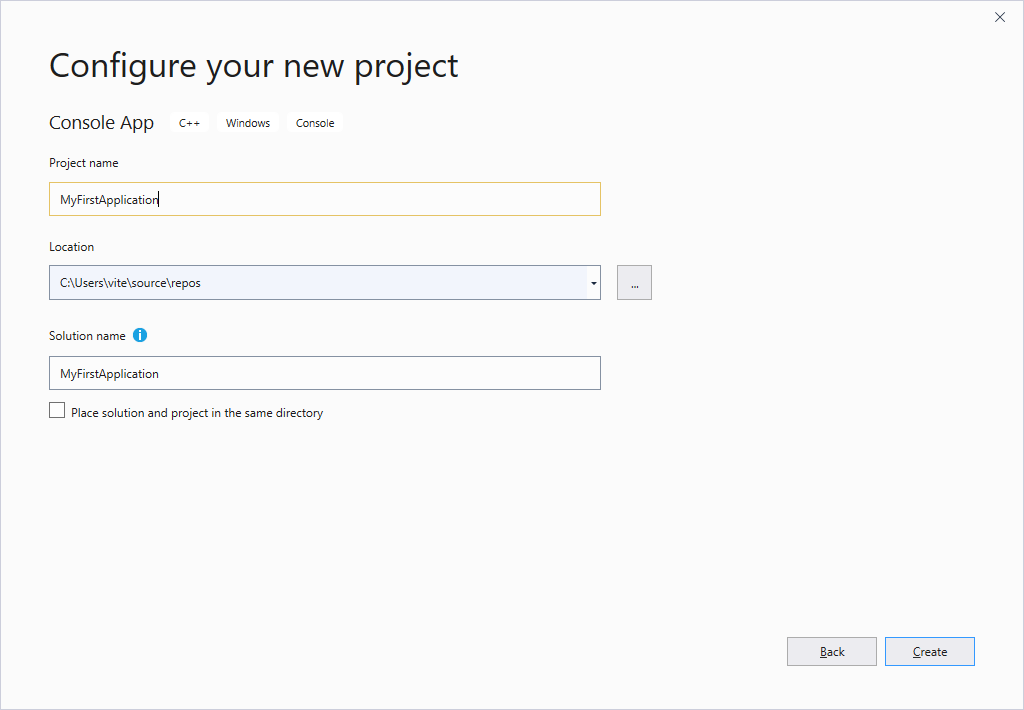
Enter a name for your project and click “Create”

Your new project is ready!
Happy Coding!
Vizrex Institute of Technical Education (VITE) is an initiative of Vizrex (Private) Limited where you can learn applied skills directly from industry professionals.
Read more about VITE on the official website www.vite.pk or the official Facebook Page.