[et_pb_section fb_built=”1″ _builder_version=”3.0.47″][et_pb_row _builder_version=”3.0.48″ background_size=”initial” background_position=”top_left” background_repeat=”repeat”][et_pb_column type=”4_4″ _builder_version=”3.0.47″ parallax=”off” parallax_method=”on”][et_pb_text _builder_version=”3.0.74″ background_size=”initial” background_position=”top_left” background_repeat=”repeat”]
Close your apps when you’re not using them. Never prop up your notebook on a pillow.
Who wants to make an urgent dash to a power outlet to rescue their laptop battery? That’s no fun, especially if you’re working a crowded convention center, tapping away at an airport gate, or even lounging on a tropical beach. Luckily, modern laptops are much more efficient than their predecessors. Nowadays, even inexpensive desktop-replacement laptops and some gaming behemoths can last for more than eight hours on a single charge. Some ultraportables can endure for 14 hours or more.
Still, the inconvenient truth is that the battery in your PC or Mac laptop won’t last as long as the manufacturer advertises unless you pay attention to some key factors: your power settings, how many apps you’re running, even the temperature of the room in which you’re working. The good news is that none of this requires very much work to sort out, once you know which settings to adjust. Let’s take a look at the highest-yield ways to get the most out of your laptop’s battery.
Use the Windows Battery Performance Slider
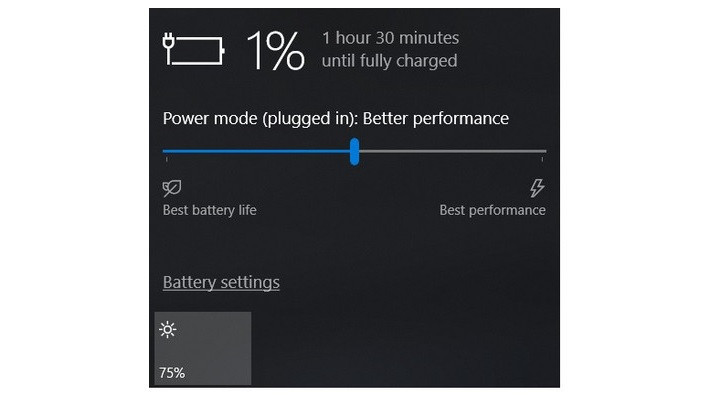
The first stop on our battery-life betterment tour is the Windows battery performance slider, a recent addition to Windows 10. It aims to group all of the settings that affect battery life into a few easy-to-understand categories. The company that made your PC determines exactly which settings the battery slider controls. But in general, keep these guidelines in mind:
- The Best Performance mode is for people willing to trade off battery runtime to gain performance and responsiveness. In this mode, Windows won’t stop apps running in the background from consuming a lot of power.
- The Better Performance setting limits resources for background apps, but it otherwise prioritizes power over efficiency.
- Better Battery mode delivers longer battery life than the default settings on previous versions of Windows. (It’s actually labeled “Recommended” on many PCs.)
Battery Saver mode, a slider choice that will appear only when your PC is unplugged, reduces the display brightness by 30 percent, prevents Windows update downloads, stops the Mail app from syncing, and suspends most background apps.
Use Battery Settings on macOS
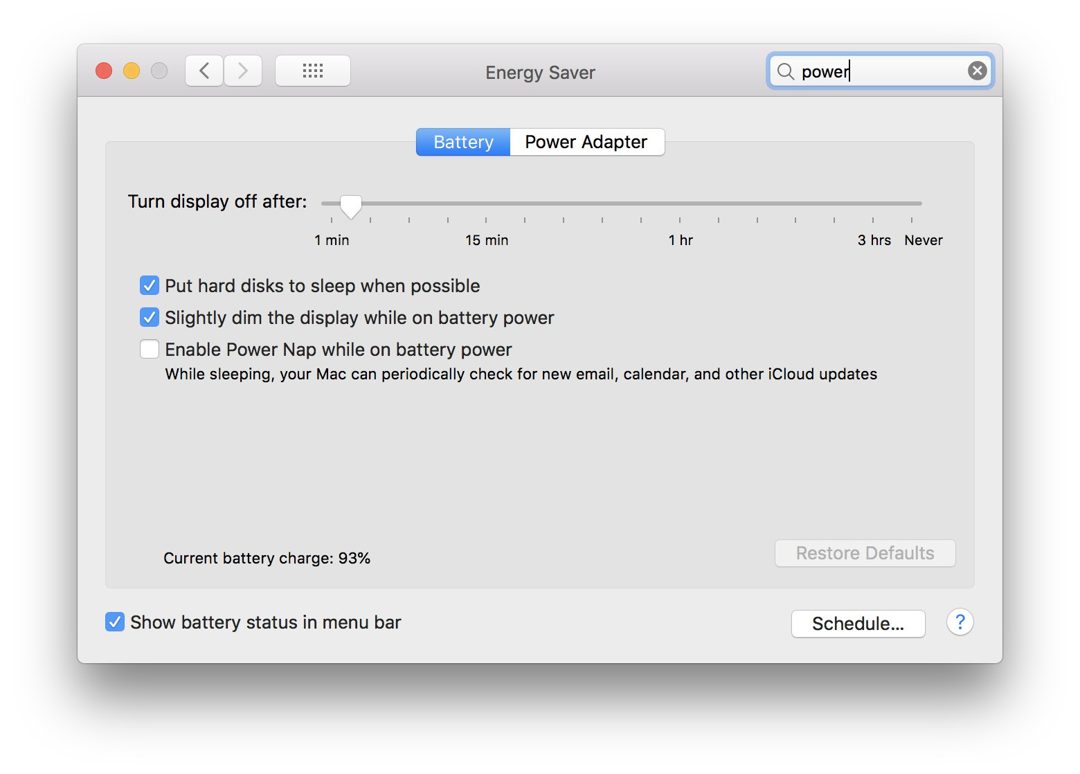
Apple’s MacBook, MacBook Air, and MacBook Pro laptops don’t have a battery slider, although many of the same settings described above are present in the Energy Saver preferences.
To open it, click on the Spotlight magnifying-glass icon in the upper right corner of the screen, search for Energy Saver, and then click on the Battery tab. If you want to approximate the Windows Better Battery or Battery Saver modes, make sure that the options “Put hard disks to sleep when possible” and “Slightly dim the display while on battery power” are checked, and the option “Enable Power Nap while on battery power” is unchecked. (With Power Nap enabled and your MacBook asleep, the machine will wake up now and then to check for updates. Disabling it keeps your MacBook fully asleep when it is asleep—until you choose wake it up.) On recent MacBook Pro laptops, the display brightness adjusts to 75 percent when you unplug the computer from power if you have “Slightly dim the display while on battery power” enabled.
So, if you want the best battery life, should you use Battery Saver all the time? Not exactly. Because Battery Saver mode disables some useful features, you might want to use it only when your battery is below 20 percent and a power outlet isn’t near. Likewise, turning off Power Nap can mean it will take longer to catch up on notifications you’ve missed while you’re away from your MacBook. That’s why most users should use the Better Battery setting and enable Power Nap most of the time.
Simplify Your Workflow: Closing Apps, and Using Airplane Mode
On the other hand, if you’re writing a novel or playing a local video file and don’t need to be distracted by notifications, it’s fine to enable Battery Saver. It’s a good habit to adjust your laptop use in more battery-conserving ways, such as by sticking to one app at a time and closing everything else when you’re not using it. It’s a bit like turning off the lights when a room is vacant. If you’re going back and forth between the kitchen and the pantry all the time, or between Firefox and Word, by all means keep both sets of lights and apps on and open. But if you’re just cooking or watching a YouTube video, you’ll be best served by turning off and closing everything else.
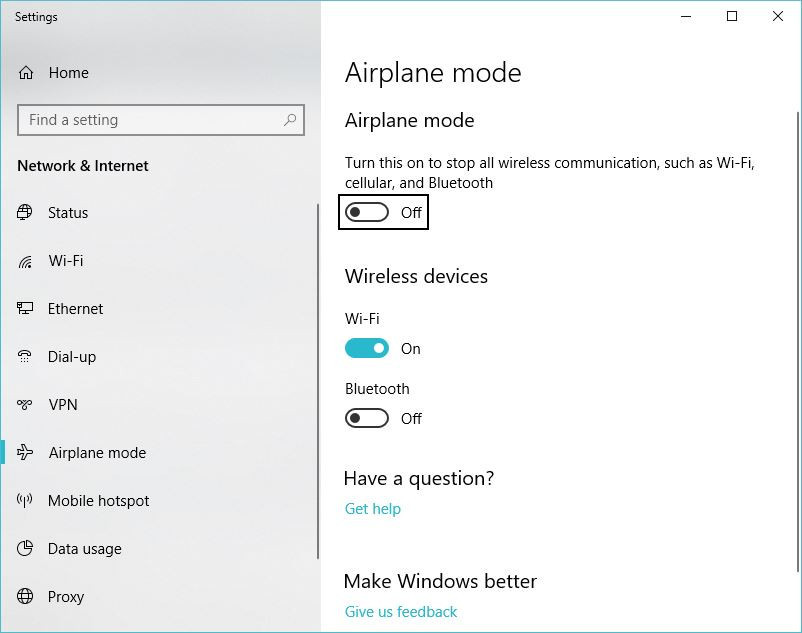
In addition to aiming to single-task, consider enabling Airplane mode in Windows, or turning off Wifi and Bluetooth in macOS if you know you’ll be editing a document with no need for web access. In addition to eliminating distractions, Airplane mode eliminates a significant source of battery drain: not only the wireless radios themselves, but also the background apps and processes that constantly use them, such as updaters and push notifications.
Close Specific Apps That Use Lots of Power
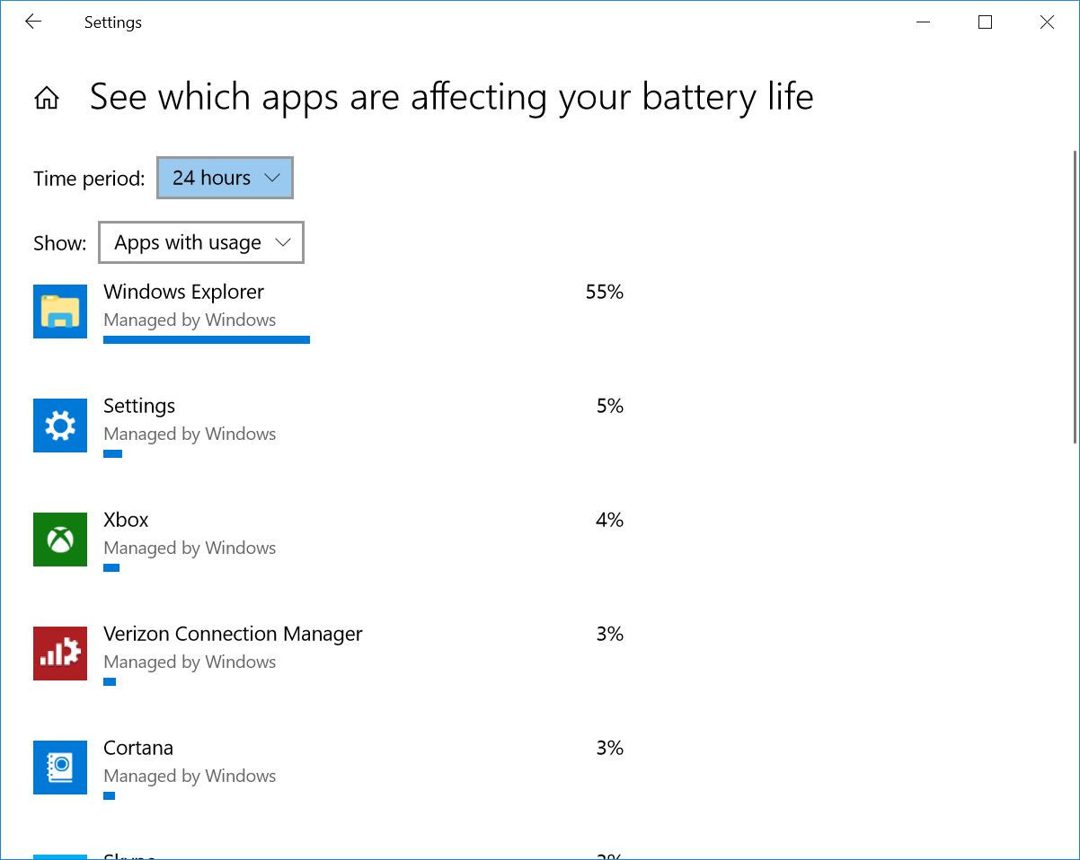
Multiple apps and processes running on your system will chew through battery life more quickly, and chances are you probably aren’t actively using everything that’s currently running on your PC. In Windows 10, the Settings App is the first step to find energy-hogging programs.
Type “see which apps are affecting your battery life” into the Windows search bar for a list of apps that are consuming the most power. If you see an app that you rarely use hogging a lot of power, make sure you close it. Often, these are apps you’ve opened in the background and forgot about, such as Spotify or Adobe Reader.
Next, type “See which processes start up automatically when you start Windows” into the search bar. This will open the Task Manager’s Startup tab, which lists every utility that runs as soon as you start your PC. Anything with a name like “Download Assistant” or “Helper” is usually safe to disable. For example, unless you frequently open Spotify playlists, tracks, or albums from links in a web browser, you can disable the Spotify Web Helper.
Adjust Graphics and Display Settings
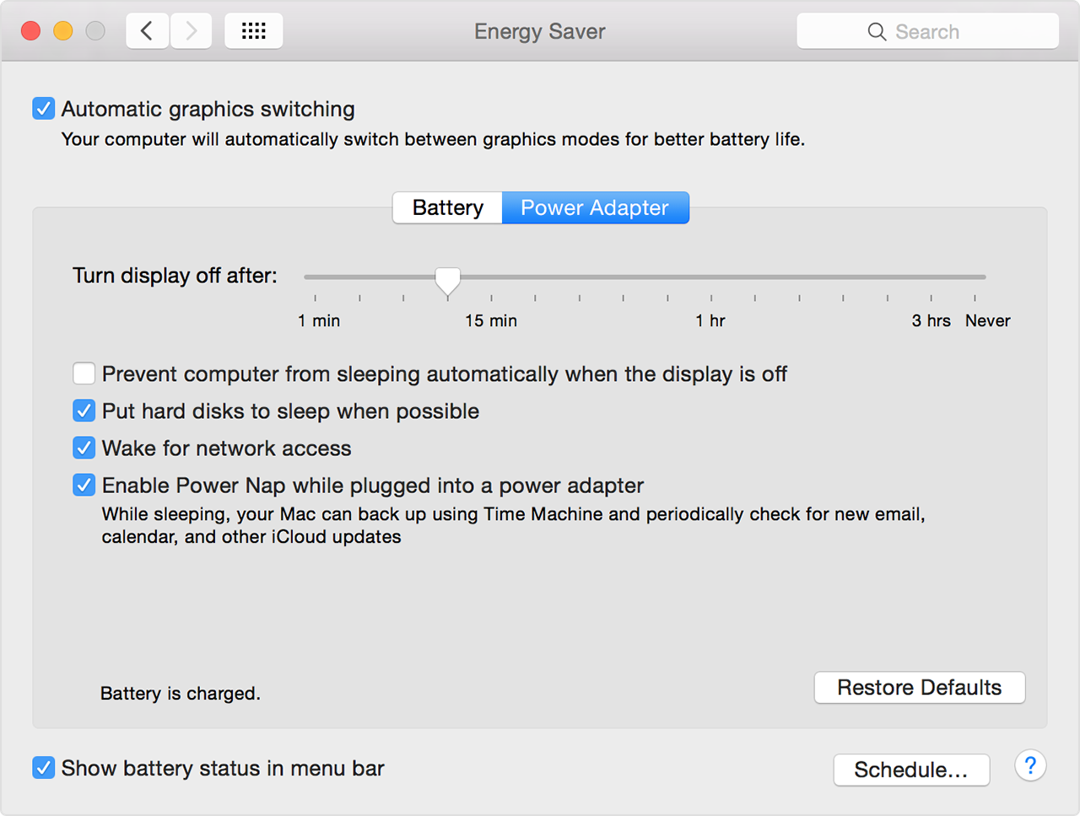
You’ll want to make sure that apps aren’t using the discrete GPU (if your laptop has one) when they don’t need to.
If you have a powerful graphics processor in your laptop (in essence, anything whose name starts with “Nvidia GeForce GTX” or, much less commonly, “AMD Radeon RX”), you can ensure that only games or other graphics-intensive apps need to use it, while everything else can get by using the more efficient on-CPU silicon for graphics processing. Assuming your system makes use of Nvidia GeForce graphics, open the GeForce control panel (typically found in the Windows notification area on the right side of the taskbar), then click on the Program Settings tab to assign each app to a specific graphics-processing chip. Allocate the GeForce discrete chip to games and photo- and video-editing apps like Adobe Photoshop and Premiere, while assigning everything else to the integrated chip.
To perform a similar assignment on a MacBook, search for Energy Saver and make sure the “Automatic graphics switching” option is checked. You don’t have the same kind of fine-tuned control over each program like you do in the GeForce panel, so you’ll have to trust mac OS’s judgment when it comes to which app should use which graphics accelerator.
Take Heed of Airflow
Most laptops now come with lithium-polymer batteries that require much less maintenance than batteries of a decade ago, thanks as much to software and firmware improvements as innovation in the battery technology itself. You no longer have to perform a full battery discharge on a regular basis to calibrate it, nor do you have to worry that draining the battery completely will damage your laptop.
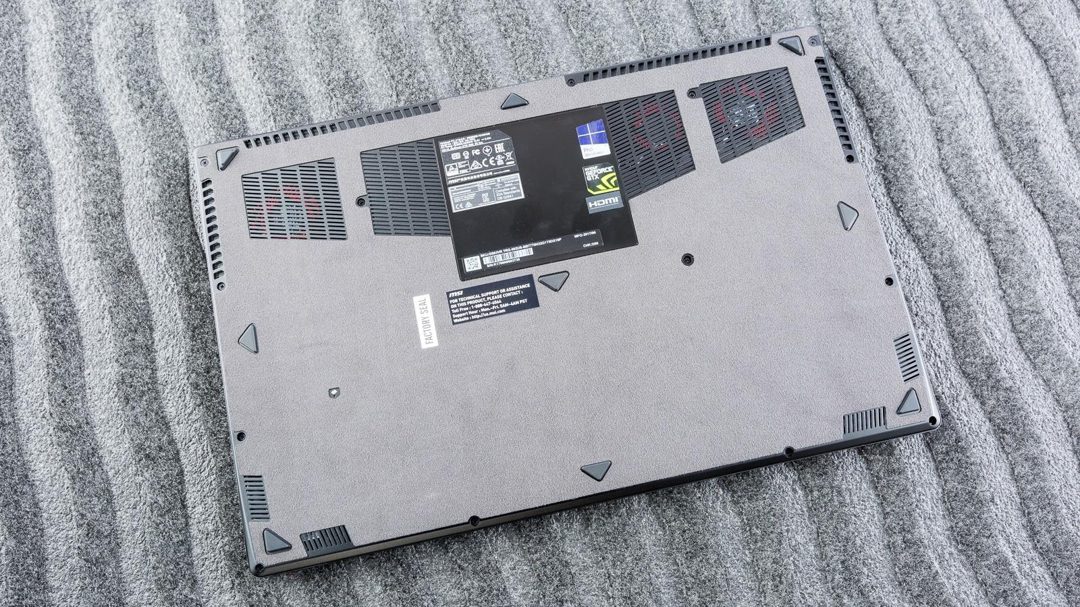
You do have to be careful about heat, however, which will hasten a battery’s demise. The biggest problems come from physical obstruction of the ventilation ports. Dust buildup is one problem, which you can take care of by cleaning the laptop’s vents and fan. (Periodically, use a can of compressed air to blow out some of the dust.) A more frequent issue that crops up, though, is using the laptop on a pillow or blanket, which can both obstruct the ventilation fan and retain the heat coming off of the system. Avoid this by using your laptop only on firm surfaces such as a table or a desk, which won’t flex and block airflow or cooling.
Keep an Eye on Your Battery’s Health
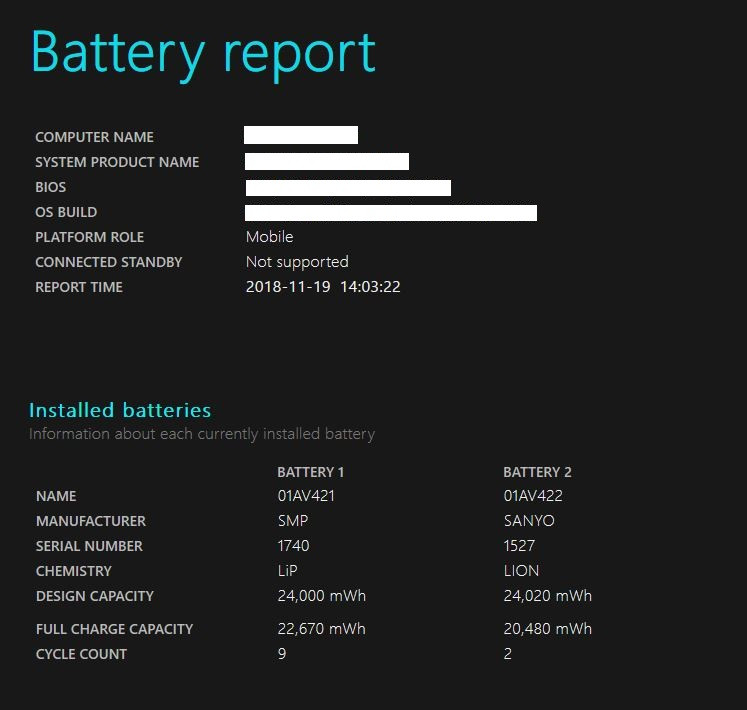
All batteries lose charging capacity over time and will eventually need to be replaced. Taking stock of a battery’s health now and then is always a good idea.
To see if your MacBook battery is nearing the end of its lifespan, hold the Option key and click the battery icon in the menu bar to reveal the battery status. If you see a “Replace Now” or “Service Battery” message, your battery is likely functioning far below its original capacity.
You can find more detailed information on how many charging cycles your battery has endured by opening the System Information app and navigating to the Power tab. Check the cycle count value against the rated maximums in Apple’s list to know how many more cycles you’ve got left.
For an equivalent battery-health indicator in Windows 10, you’ll need to roll up your sleeves and delve into world of the command prompts. First, type cmd into the Windows Search Bar in the lower left of the screen to summon the Command Prompt in Windows 10. Right-click on its search item and choose to run Command Prompt at an administrator level. Then, type powercfg /batteryreport at the prompt. Your PC will generate an HTML file whose location is displayed in the command prompt window. Open it, and check near the top for your battery’s design capacity, full charge capacity, and cycle count.
Carry a Battery Backup
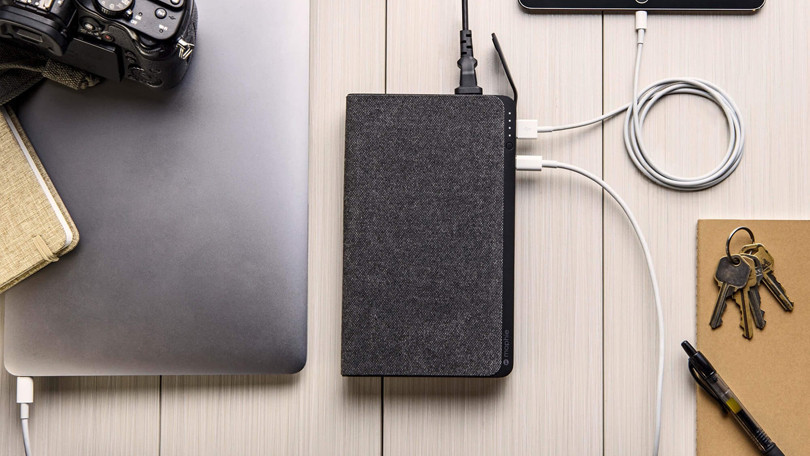
Finally, the easiest way to ensure that you always have enough battery power is to bring along an extra: either a spare battery, or an external battery pack.
Increasingly, though, the former is just not an option. Laptops with a removable battery, nowadays, tend to be fleet-oriented business machines, and in these cases, the simplest option is a second battery. (Indeed, this can be a good reason to opt for one of these machines even if you’re not a typical business buyer.) Spares can be ordered directly from the manufacturer (we don’t recommend buying third-party batteries), often for less than $100. Simply swap the old battery for the new one once in a while when charging, and bring along the charged-up spare whenever you expect to be away from a power outlet for an extended period.
Another, similar option is to buy an external power pack. While it is also technically a battery, these external power sources plug in to your laptop the same way your charger does. They generally cost between $100 and $200, but come with adapters for use with many different laptop models. They can be used on more than one system, and even for other devices, such as your phone or tablet.
These strategies will help you make the most of the battery you have. If you’re in the market for a new laptop, however, and battery runtime is one of your key concerns, check out our roundup of the laptops we’ve tested with the best battery life.
This article was originally published on PC Mag by Tom Brant.
Image Via
[/et_pb_text][/et_pb_column][/et_pb_row][/et_pb_section]
